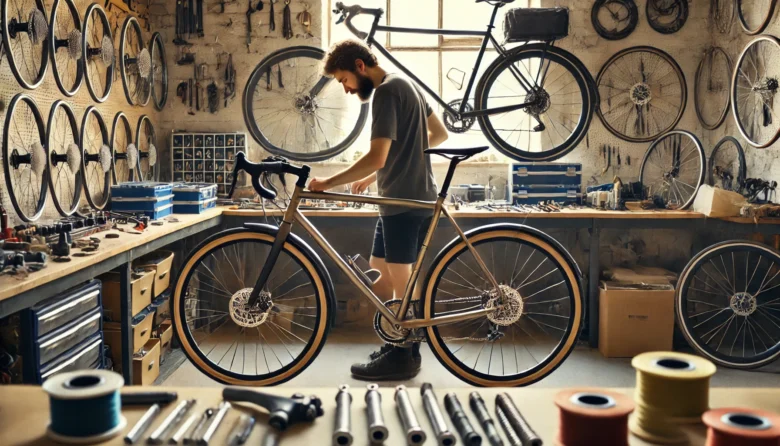
Not all touring bikes come ready-made. If you want a bike tailored to your exact needs, why not build your own? Whether you’re after ultra-durability, lightweight performance, or off-road capability, here’s how to assemble the perfect DIY touring bike.
🚴♂️ Step 1: Choose the Right Frame
- Steel (Best for durability & repairs) – Surly, Soma, or custom-built options
- Titanium (Lightweight & strong, but expensive) – Moots, Lynskey
- Aluminum (Budget-friendly, but less shock absorption) – Trek, Giant
- Carbon (Lightest, but not ideal for heavy loads) – High-end custom builds
🔧 Pro Tip: Make sure your frame has rack & fender mounts for easy gear attachment.
🚴♂️ Step 2: Pick the Best Touring Wheels & Tires
✔ 700c vs. 26-inch? 700c for speed, 26-inch for rugged terrains.
✔ Tubeless vs. Tube? Tubeless reduces flats but requires maintenance.
✔ Recommended Touring Tires: Schwalbe Marathon Plus, Continental Travel Contact.
🔧 Pro Tip: If riding in remote areas, 26-inch wheels are easier to find replacements for.
🚴♂️ Step 3: Gear Ratios & Drivetrain
For long-distance touring, go for:
✔ 3×9 or 2×10 gearing for easier climbing.
✔ Shimano Deore XT or SRAM Eagle drivetrains for reliability.
✔ Gates Carbon Belt Drive for a maintenance-free alternative.
🚴♂️ Step 4: Choose Your Handlebars
✔ Drop Bars – Better aerodynamics, multiple hand positions.
✔ Flat Bars – Simple, easy to maintain.
✔ Butterfly Bars – Most ergonomic for ultra-long rides.
🚴♂️ Step 5: Touring-Specific Saddles
- Brooks B17 Leather Saddle – Classic comfort.
- Selle Anatomica X1 – More flexibility.
- Ergon ST Core – Advanced ergonomic design.
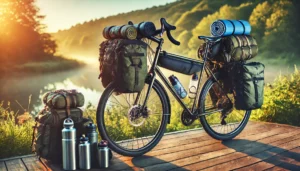
🚴♂️ Step 6: Load-Carrying Options
✔ Front & Rear Racks: Tubus, Old Man Mountain.
✔ Bikepacking Bags for Lightweight Touring: Ortlieb, Revelate Designs.
✔ Handlebar & Frame Bags for Extra Storage.
🚴♂️ Step 7: Braking System
✔ Hydraulic Disc Brakes – Best stopping power, but harder to fix.
✔ Mechanical Disc Brakes – Easier to maintain on long trips.
✔ Rim Brakes – Lighter, but not ideal for heavy loads.
🚴♂️ Step 8: Extras for Comfort & Safety
✔ Dynamo Hub for Charging Devices
✔ Bar-End Mirror for Rear Visibility
✔ GPS Computer for Navigation
🚴♂️ Step 9: Test & Adjust Before Touring
Before your first big ride:
✔ Take a loaded test ride to check handling.
✔ Adjust saddle & handlebar height for comfort.
✔ Ensure your gear is balanced to avoid wobbling.
🚴♂️ Final Thoughts: Your Perfect Touring Bike, Your Way!
Building your own touring bike means customization, durability, and pride in your ride. Whether you’re planning a cross-continent expedition or a weekend escape, your DIY touring bike will be built exactly for you.
Would you build your own touring bike? 🚴♂️🔧